How to (en)
You have a plotted scale now what to do? These are the steps on how to apply the scale to your container.
This is a field report. If you intend to copy this, you do so at your own risk.
1. Take off excess vinyl / weeding
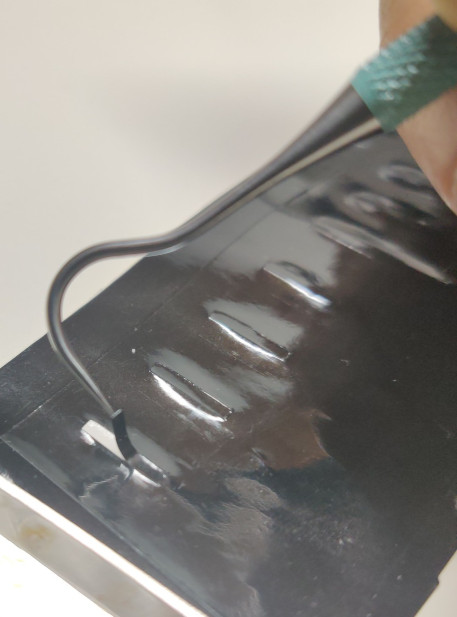
Before you can attach the scale to your container, you must first remove the superfluous parts. When weeding, take a pin or other pointed object and use it to remove the inner parts of the scale, namely those that will later be visible on your container.
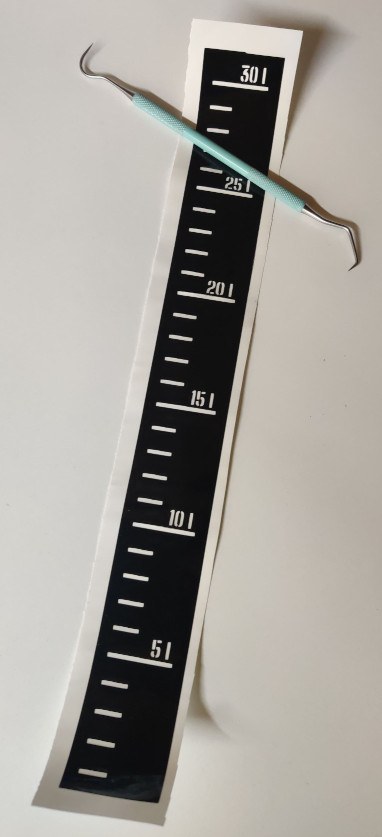
When you are finished the result should look something like this:
2. Apply transfer foil
If you have a scale that was created with a so-called stencil font, this step is optional. It is still recommended to use a transfer foil because it makes the application easier and less error-prone.
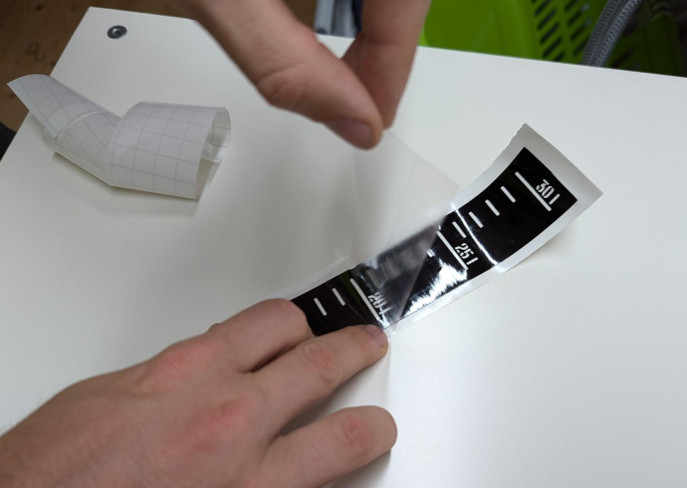
First peel off the protective layer of the transfer foil. Then stick the transfer foil onto your weeded(!) vinyl scale.
3. Clean the container
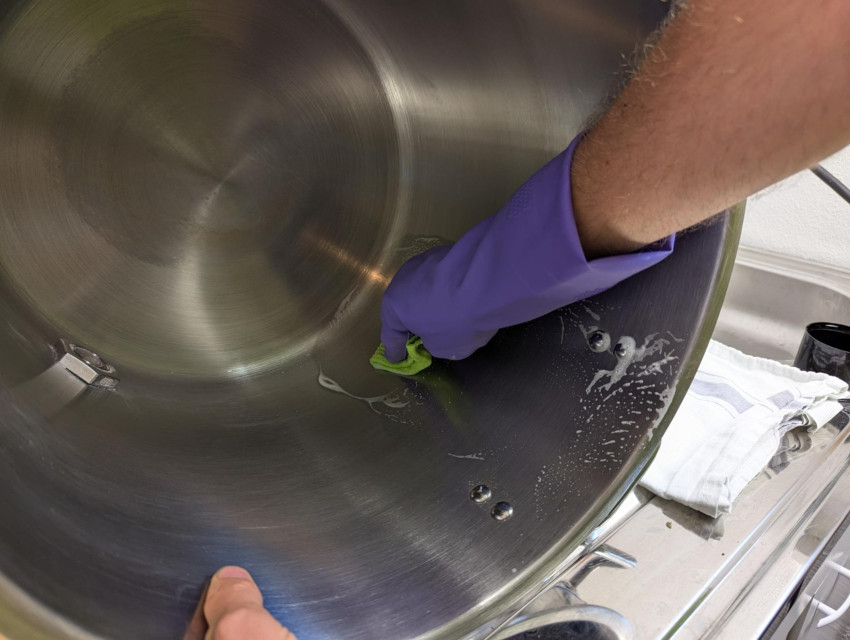
Clean the area of your container to which the scale is to be attached.
4. Determine reference height (gauging)
To display correct values, the scale must be placed at a certain height in the container. Therefor it is necessary to determine a reference height. To do this, take a previously measured amount of water and fill it into your container. Caution: Some measuring cups are very inaccurate. You often get a better result with a weighed amount of water (1 l = 1 kg).
Place the pot on a flat surface and mark the water level near where you want to place the scale. It should be possible to align your scale with this mark later.
Method with two tape strips
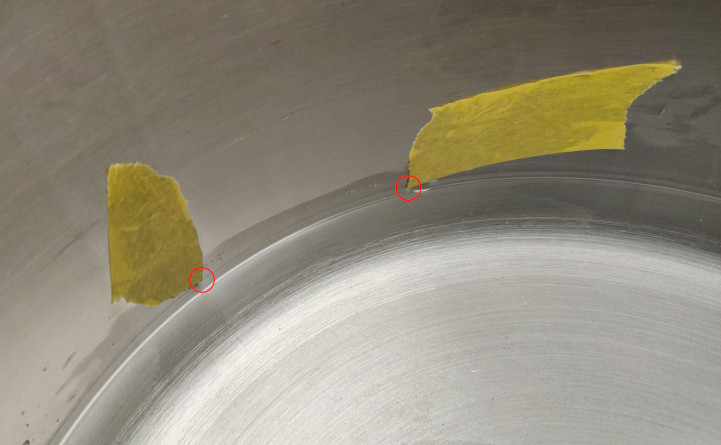
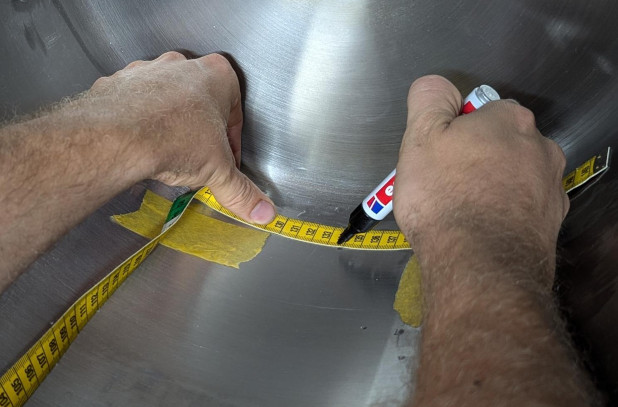
Here is an example: 5 liters of water, marked with 2 edges of short strips of adhesive tape, then connect the edges with a tape measure and make a mark with a pencil at a suitable point.
Method with a ruler
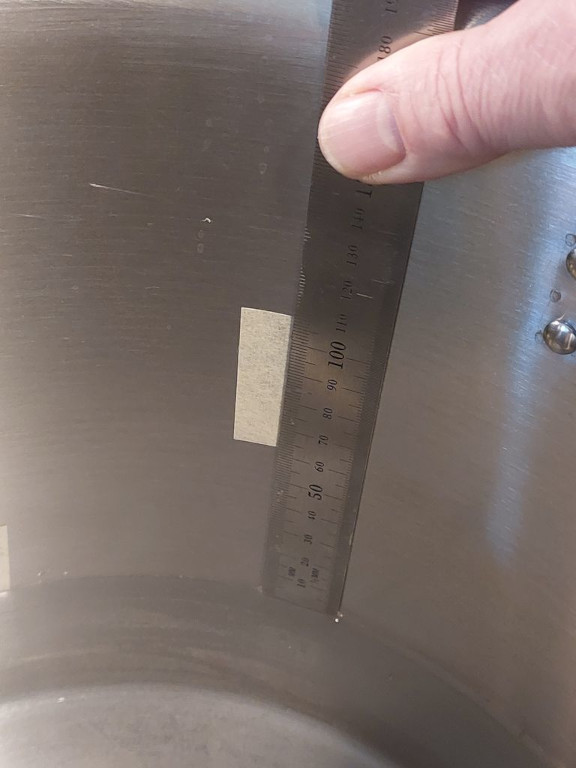
Instead of placing the mark directly on the water level, you can also attach masking tape above it and use a ruler to make a mark on the masking tape at a fixed distance from the water level (e.g. 10 cm on the ruler). You can then pour the water out of the pot and measure the same distance down from the marked point and mark the previous fill level. If you do this twice in different places, you can also draw a line.
Method mark directly
If necessary, you can also use an adhesive strip that has just been stuck on or a pencil that also draws a clearly recognizable mark on the edge of the water - whichever is easiest for you.
5. Apply the scale
Take your prepared scale and apply it to your container to match the reference mark you determined previously (in the example above it is the 5 l mark). Make sure the scale is applied in the correct angle. Additional markings may help. A folding rule can also help with alignment.
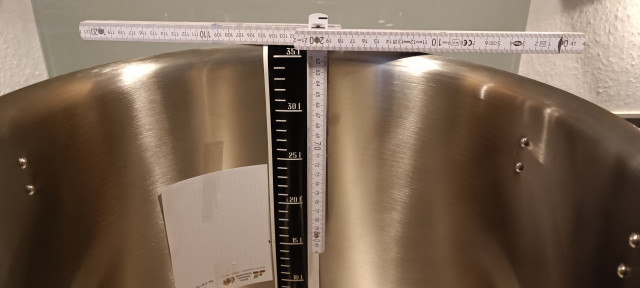
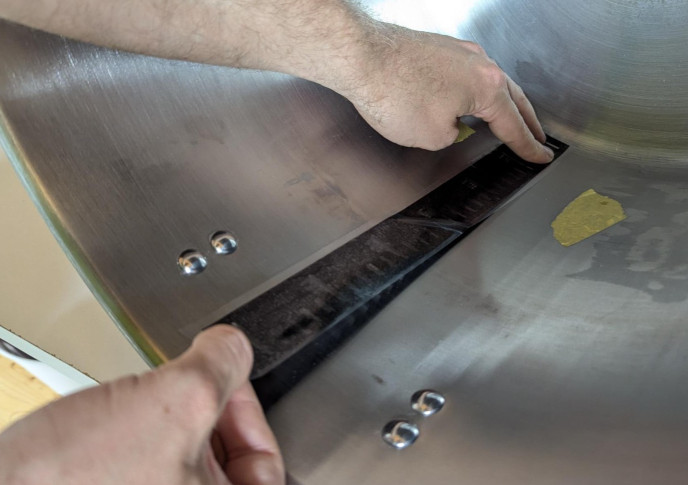
Caution: Try to position the scale correctly the first time. There is a risk of distorting or tearing the foil when trying to remove it!
Then you can carefully peel off the transfer foil. Optionally, you can mask off around the scale with other adhesive tape so that you don’t accidentally leave etch marks where none should be.
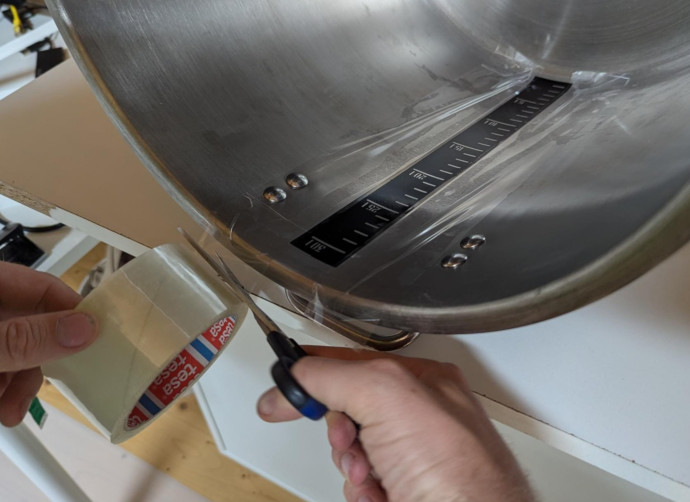
6. Prepare electrolyte
If you have a professional electrolyte available, you can skip this step.
You can make your own electrolyte with simple home remedies. All you need is a shot glass full of vinegar and a teaspoon of salt. Mix the two well and you’re done. The amount is more than sufficient for a scale, only a few drops are needed.
Professional electrolytes can give better and more consistent results, but the homemade one works very well too. According to some reports, however, the color may be more brownish. Which electrolyte you want to use is of course up to you. The scale in the following pictures was etched with the self-made electrolyte.
7. connect the power cable
Attention, electricity!!! Only low voltages are required, but you are still handling electricity here. Be careful! And please only continue here if you know what you are doing!
We still need a power source to etch with the electrolyte. According to some reports, even a 9V battery works.
For this How to a 12V AC (= alternating current) power supply with 4 Ampere was used. A power supply with less amperage is certainly also sufficient.
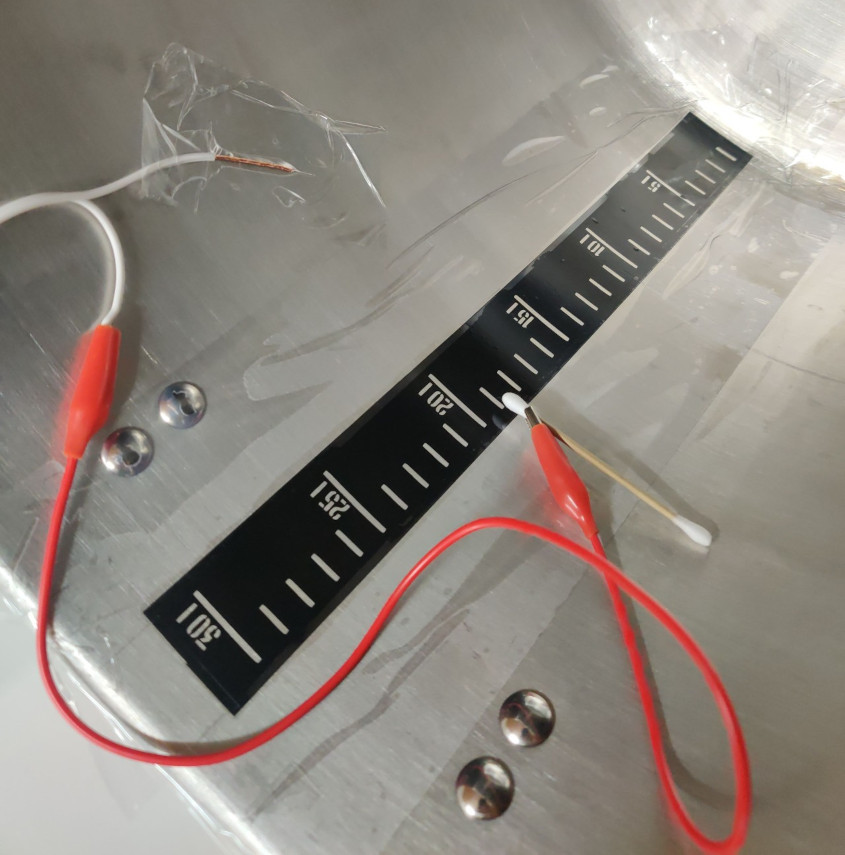
For alternating current (AC)
Take one of the 12V cables (!!! don’t handle 220V!) and attach it to your container, e.g. with a piece of adhesive tape. You can attach the other cable to a Q-tip using an alligator clip. The polarity does not matter for alternating current.
For direct current (DC)
If anyone has experience with DC etching, please describe here what needs to be observed.
Mounting
Make sure that the crocodile clip touches the absorbent cotton part so that it can later come into contact with the electrolyte. If you do not have an alligator clip, you can of course also wrap the stripped end of the cable around the Q-tip. With the crocodile clip, it is just easier to change the Q-tip in between. But it also works without.
8. Etching
Attention, etching produces toxic vapors. So it’s best to do it outside.
Electrolyte ready? Power source connected? Let’s go!
Dip the Q-tip into the electrolyte so that it soaks up and makes contact with the connected cable. Then trace the recesses of the scale template with the Q-tip. Move the Q-tip back and forth carefully so that you do not damage the template. Dabbing can be helpful with the numbers. You can go over the same spot several times to get an even result.
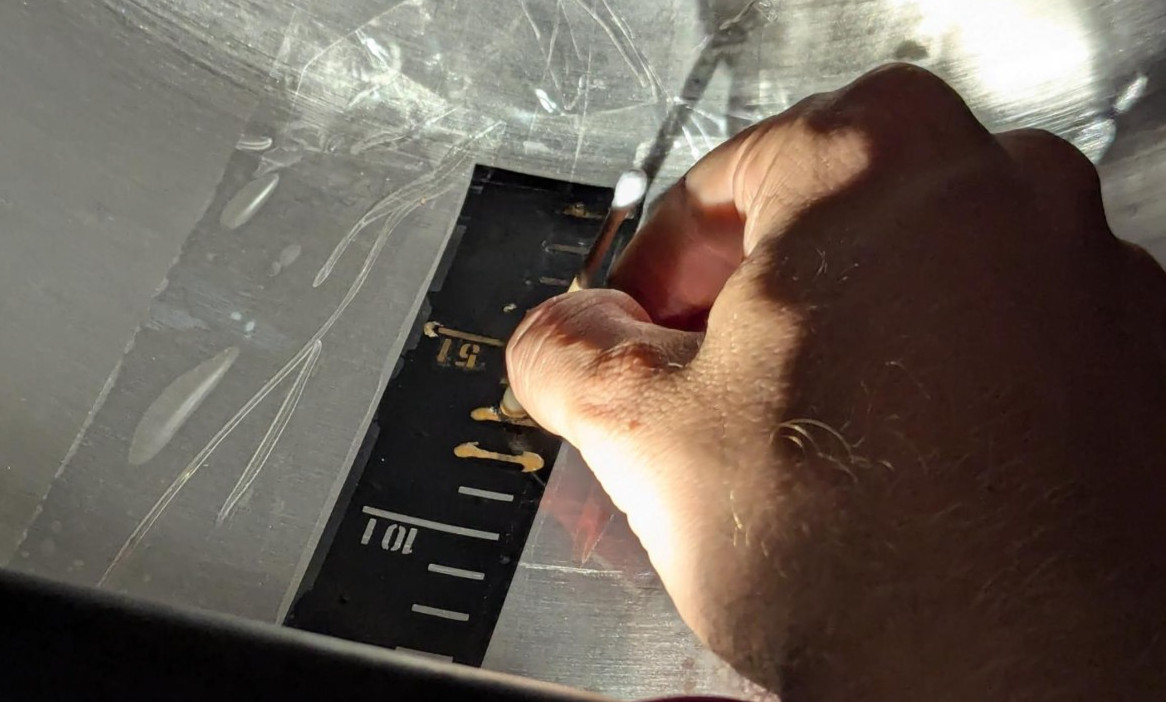
The Q-tip can be changed if it is too dirty.
9. Remove the scale / clean up
When you have finished etching, disconnect the power supply, remove the cable and the template from the container, clean the area thoroughly and inspect your work! Fill it with a little water and test it.
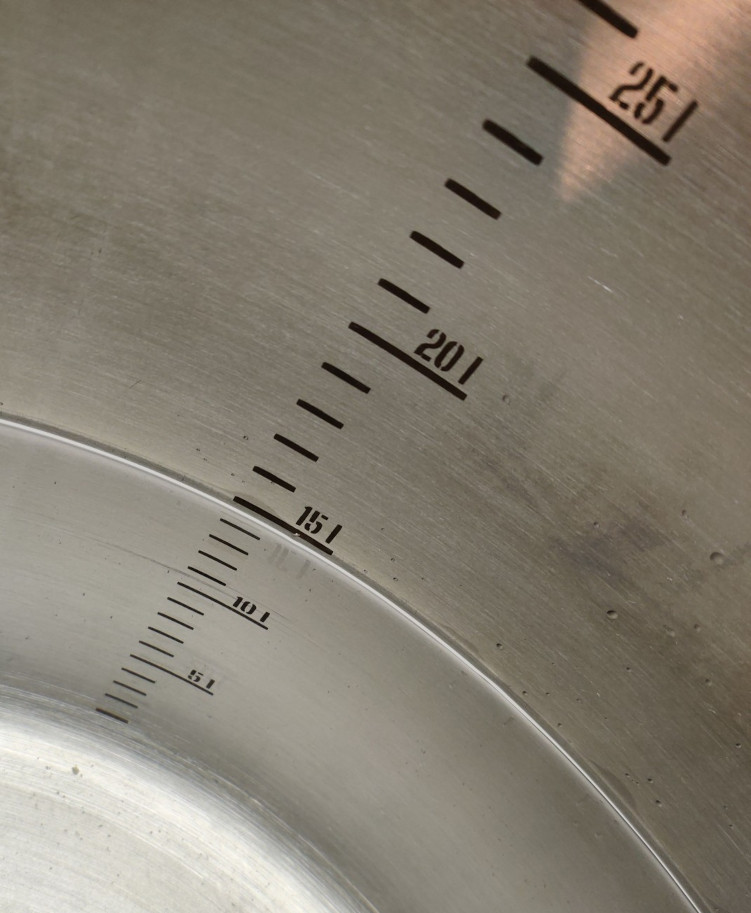 In the picture you can see the result with self-made electrolyte.